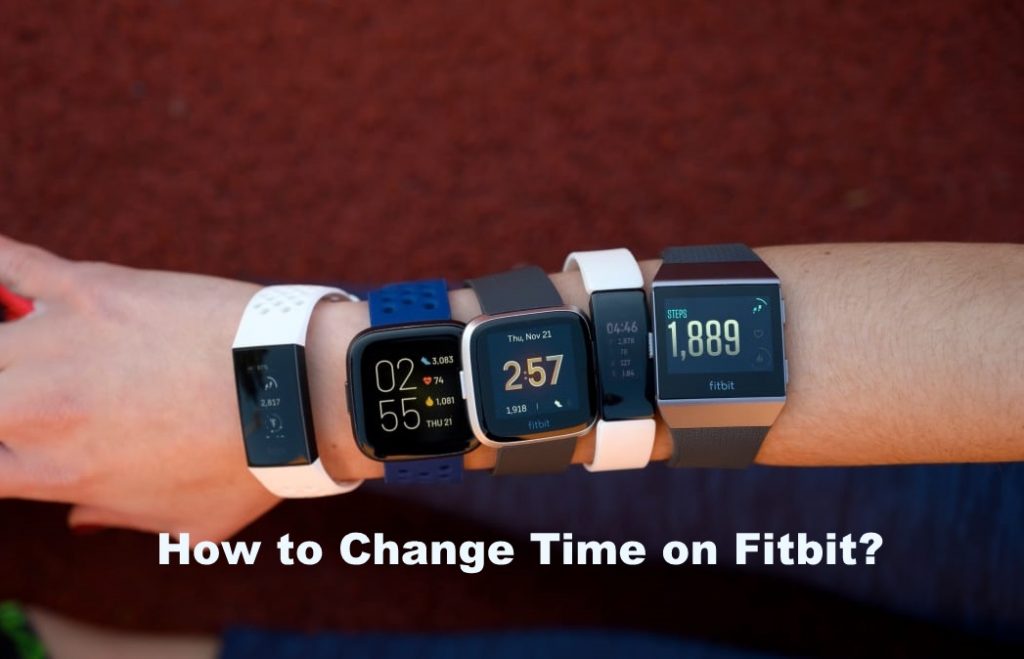
Fitbit is the most famous and used wearable Fitness tracker nowadays. But then, the one common issue faced by almost all users is Time settings. Fitbit often displays the wrong time due to various factors. For the above problem, the only Silver line is that we do have solutions to solve this issue, mostly all versions of Fitbit. Help yourself to Change Time Settings in Fitbit’s various versions with this article.

Why Fitbit often shows Wrong Time?
It may be due to your Daylight Settings. Usually, even our smartphones tend to fall into this trick. No wonder your Fitbit works along the way. Sometimes when you are traveling to different Time zones, the Fitbit often fails to display the correct time. If Fitbit’s battery dies, there comes the real tension. It shows the time at which the watch was turned off. Sometimes the sync with your phone may be turned off. Make sure your Fitbit is synced with your Mobile Phone before going any further.
Change Time Settings in Fitbit Various Versions
Almost all Fitbit Smartwatches and trackers will have the same procedure. Basically, we will learn to change Time and Date Settings along with changing time format and display and also to change timezone and daylight adjustments. All these can be done using the Smartwatch application or with the help of the Fitbit website. So in this article, we are going to discuss Change Time and Date settings in the following versions. You can change the time on Fitbit watches either using the app or without the app.
- Fitbit basic versions
- Versa
- Charge
- Alta
- Inspire
- Other Versions
- Surge
- Ionic
- Blaze
- Ace
- Flex
- Justice
Sync your Mobile Phone and Fitbit

- Turn on your Fitbit.
- Download and Install the Fitbit mobile app.
- Turn on Bluetooth and Wifi on your mobile.
- On the Home screen, you can see your device model Icon on the bottom or top of the screen. Tap it.
- Now the mobile phone will start syncing with the Tracker on the confirmation.
Your Fitbit is now synced with the mobile application.
Get Fitbit apps from
Sync Your PC and Fitbit
- Fitbit comes with the Dongle. So insert the dongle into your PC’s USB port.
- Place your tracker within 20 feet of the dongle.
- Now you can find the Fitbit connect icon click and open it.
- Go to All programs >> Fitbit connect >> Sync now.
- That’s it. Find your tracker now.
1. How to Change Time on Fitbit Basic Versions
So the following method can be used to change the Time Settings on all your Fitbit basic versions that include Old Fitbit, Fitbit 1, Fitbit 2, and Fitbit HR.
Change Time Zone
This is very simple. All you have to do is sync your Smartphone with your Fitbit. So changing Timezone will automatically change your Date and Time.
Android
The following method can be used in all Android Smartphones and tablets.
- Download and Install the Fitbit mobile application on your Smartphone.
- On the dashboard, you can find the account icon.
- Tap the account icon and go to Advanced Settings.
- Now Turn off the automatic timezone and select your preferred Time zone.
- Then Sync your Tracker.
Now that the timezone changes, your Fitbit will show the correct date and time.
iOS
This method can be used on your iPhones and iPads.
- Open your Fitbit app and tap the Fitbit icon that looks like a cluster of dots.
- Now tap your Profile picture and go to Advanced Settings.
- Turn off the automatic time zone by disabling the toggle.
- Select the correct time zone and sync your tracker.
So here, you can see the correct time and date on your watch.
Windows
This method is applicable for devices using Windows 10 OS.
- Download and Install the app on your Windows 10.
- Open the application. On the home screen, tap on your profile picture.
- Go to Advanced settings and tap Time zone.
- Turn off the Auto option by disabling the toggle.
- Select the perfect time zone and sync your tracker.
Fitbit Website
- Go to Fitbit Website on a PC or smartphone.
- Log in to your account.
- Now select the icon that looks like a gear and click Settings.
- Then go to personal info >> Advanced Settings >> Timezone.
- Turn off the auto and select the correct Time zone.
- Click Submit and sync your Fitbit.
Change Time Format
Use the following steps to switch your Time between 12-hour and 24-hour format. Unfortunately, you cannot change it using applications. You need to go to the Fitbit website.
- On the home screen, click on the Settings icon and go to Settings.
- Then click Personal Info >> Advanced Settings.
- Find the Clock Display Time. Now you can find two options, 12-hour and 24-hour.
- Choose the desired and click submit. As usual, sync your Tracker now.
2. How to Change Time on Fitbit Versa Versions?
The following procedures are applicable for all the Versa versions like Versa, Versa 2, and Versa lite. This is nothing different from the basic version.
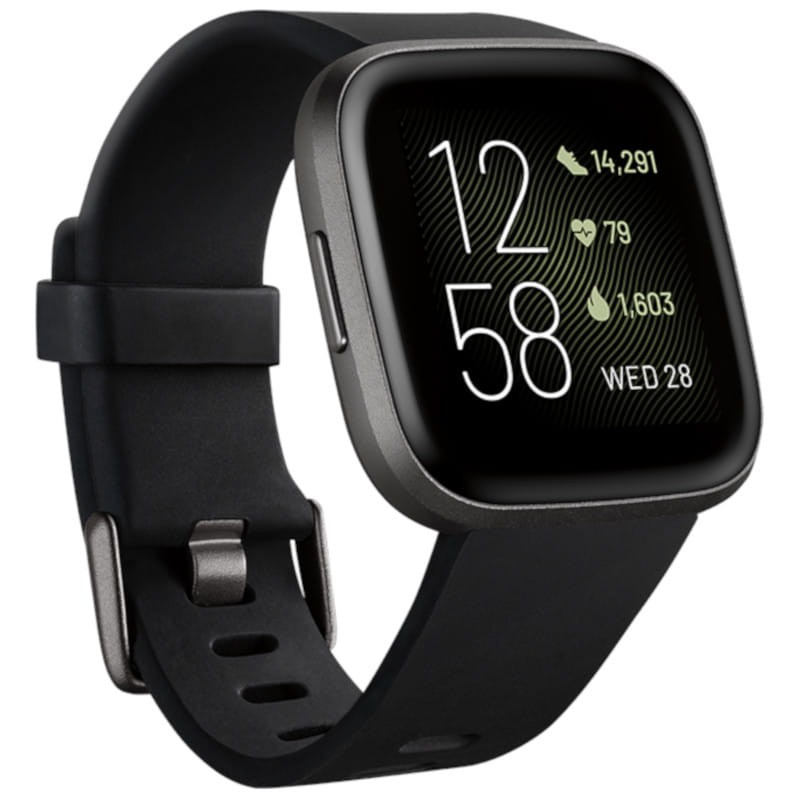
Change the Time Zone
| Android | iOS |
| 1. Open Fitbit Mobile Application. 2. Tap the Profile Icon and Go to Advanced Settings. 3. Now, choose the automatic Time Zone. Turn the Auto option off. 4. Select your Time zone and sync the tracker. | 1. Open the IOS app. 2. Click your Profile picture. 3. Under the Time Zone section, Turn off the Automatic Time Zone. 4. Choose your Time one and sync your tracker. |
| Windows | Website |
| 1. On the Fitbit dashboard, click on the Account icon and Go to Advanced Settings. 2. Go to Timezone >> Turn off the Automatic option. 3. Select your Time zone and sync your Tracker. | 1. Open Fitbit Website. Log in to your account. 2. Go to Advanced Settings and find the Timezone. 3. Now, choose your desired Timezone and sync it with your Tracker. |
Change the Time Format
- Go to Fitbit Website and log in to your account.
- Click the gear icon and go to Settings >> Personal Info.
- Under Advanced Settings, you can see Clock Display Time. Choose your desired format.
- Now submit and sync.
3. How to Change Time on Fitbit Charge Versions?
The following method can be applied to change the Time zone Setting in all Fitbit charge versions that, including basic Charge, Charge 2, Charge 3, and Charge HR.
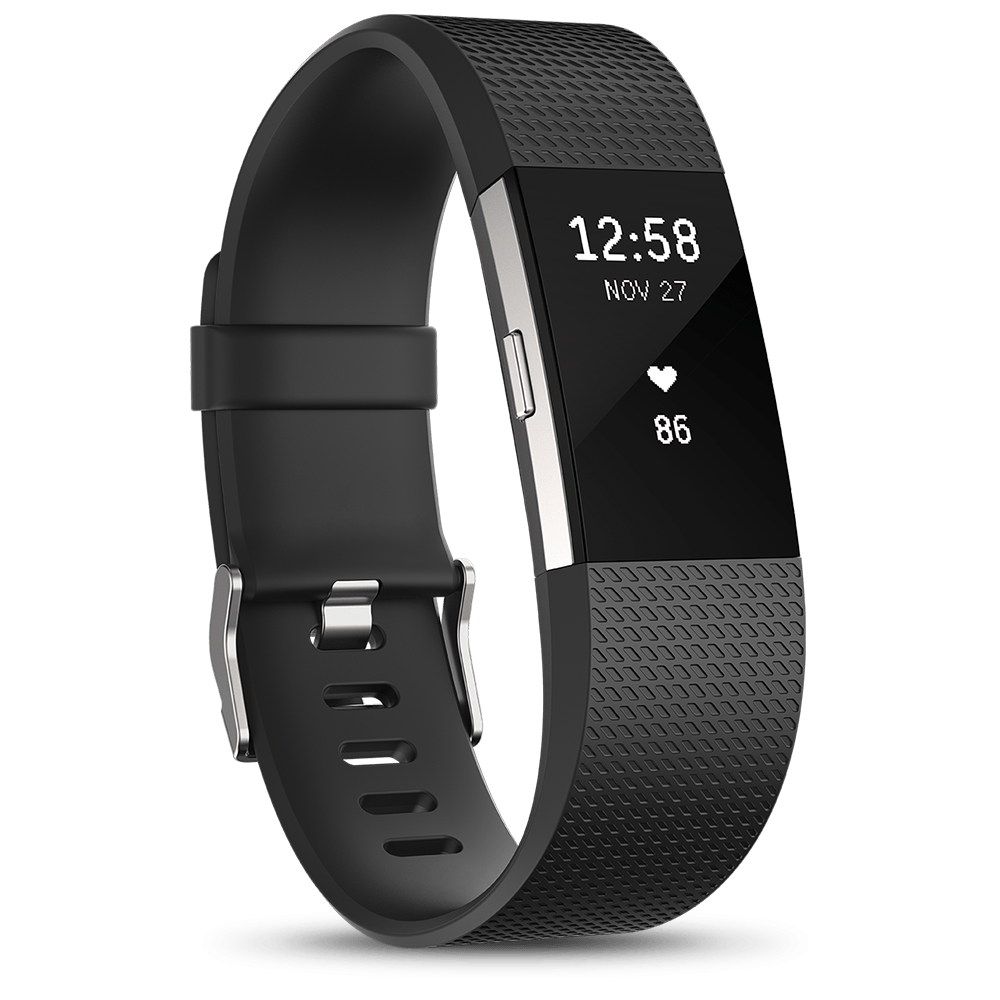
Change Timezone
| Android | iOS |
| 1. On your Android device, open the Fitbit app and tap the profile icon. 2. Go to Advanced Settings and tap the Set Automatically. 4. Turn off the Automatic time zone. 3. Now, select your time and sync the tracker. | 1. On your iOS device, open the Fitbit application. 2. Tap Fitbit Icon >> Profile Picture >> Advanced Settings. 3. Turn off the Set Automatically option. 4. Select your Time zone and sync with the Fitbit device. |
| Windows | Website |
| 1. Open the Fitbit application. 2. Click the Profile Icon and navigate to Account Settings. 3. Open the Time Zone and Turn off the Auto option. 4. Select your Time zone and sync the device with your tracker. | 1. Open and Log in to the Fitbit Website from your web browser. 2. Click and open the gear icon and move to Settings >> Personal Info. 3. Under Advanced Settings, locate the Time zone and choose your Time zone. 4. Submit and now sync. |
Switch Time Format
- Open Fitbit Website on your web browser on any device and log in with your credentials.
- Click on the Gear Icon and navigate to Settings >> Personal Info.
- Under Advanced Settings, scroll to Clock Display Time. And choose one between a 12-hour or 24-hour format.
- Submit and sync the device with your Tracker.
4. How to Change Time in Fitbit Alta Versions?
The following ways can be used to change time zone settings in the Alta version, including Alta and Alta HR.
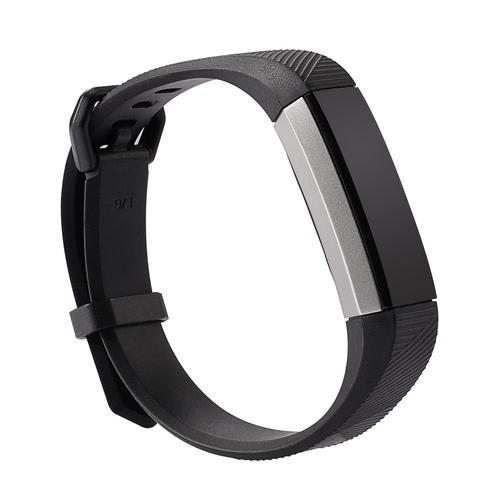
Change Time Zone
This is just like other versions. All you can do is with the help of apps and websites.
| iOS | Android |
| 1. On your Fitbit IOS app Tap Fitbit Icon >> Profile Picture >> Advanced Settings. 2. Turn off Set Automatically. 3. Tap Time Zone and select your Time zone and Sync your tracker with the app. | 1. Open the Fitbit Android application. Tap the Fitbit icon >> Profile Pictures >> Advanced Settings. 2. Turn off Automatic Time Zone. 3. Select your concerned Time zone and sync your device. |
| Windows | Website |
| 1. Open the Fitbit. From the dashboard, tap the Account icon >> Advanced Settings. 2. Tap Time Zone and Turn off the Auto option. 3. Select the correct Time zone and sync your device. | 1. Log in to your Fitbit account on the Website. Then Tap the Gear Icon >> Settings >> Advanced Settings. 2. Now find the Time zone, then choose yours. 3. Click submit and sync with your device. |
Change Time Format
As said earlier, there is no change in the Alta version too.
- Open the Fitbit website. Log in to your account.
- Click gear icon >> Settings >> Personal Info.
- Now find Clock Display Time and choose the format that includes 12-hour and 24-hour and Submit.
- Now sync your device.
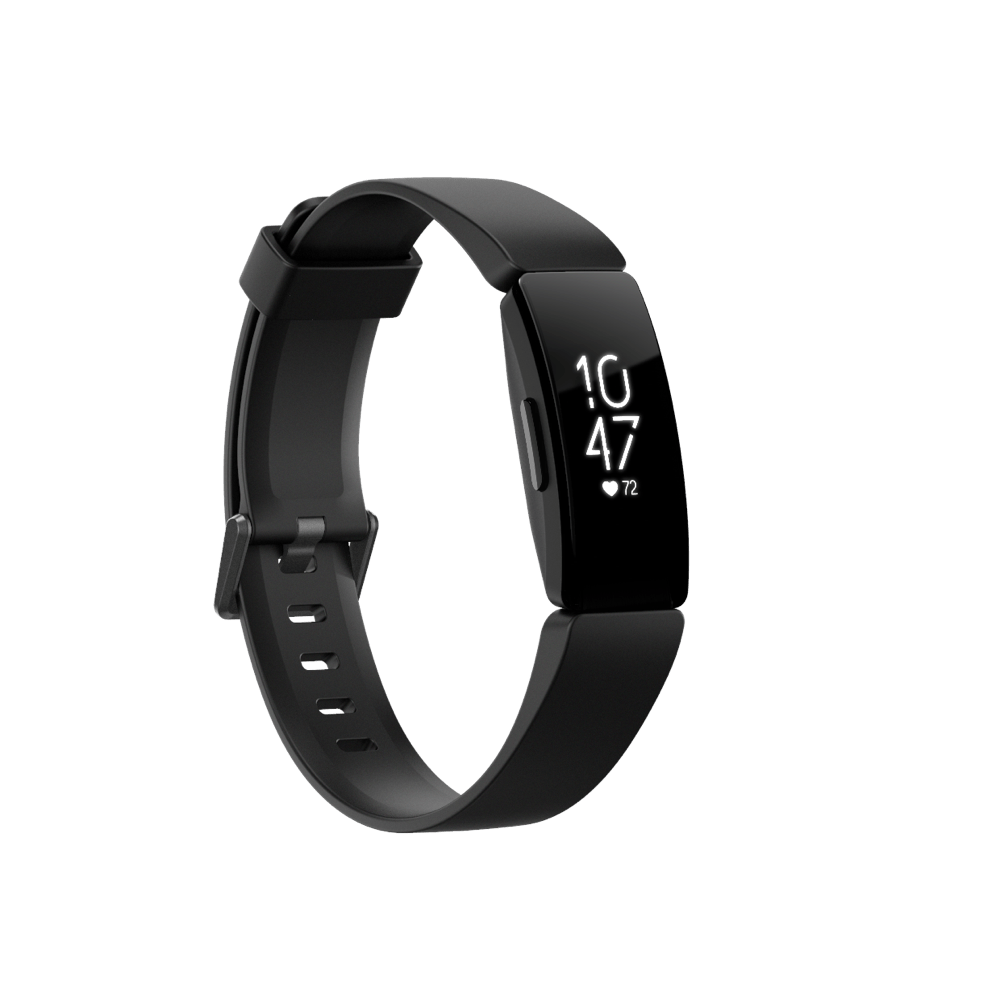
5. How to Change Time on Fitbit Inspire Versions
Inspire and Inspire HR are two different models. The following method can be used to change time settings in both models.
Change Time Zone
All the above procedures still work for this version too.
| iOS | Android |
| 1. Open your Fitbit IOS app 2. Tap on the Fitbit Icon then, tap Profile Picture, followed by Advanced Settings. 3. Set Automatically should be turned off in order to set Time one manually. 4. On the Time Zone section, select your Time zone. 5. Now, Sync your device. | 1. On your Fitbit Android application, tap on the Fitbit icon that looks like a cluster of dots. 2. Then tap your Profile icon and go to Advanced settings. 3. Now, Turn off the Automatic Time Zone. 4. Select your Time Zone based on the region you are currently in. 5. Then, as usual, sync your device. |
| Windows | Website |
| 1. Open the Fitbit app or software. 2. On the dashboard, you can find your Account icon. Click on it and then go to Advanced Settings. 3. Now, under the Time zone, turn off the Auto option. 4. Select the correct Time zone where you are in and submit. 5. And then sync your device. | 1. Log in to the Fitbit Website in a web browser of any device. 2. Click the Settings icon, then followed by Advanced Settings. 3. You can locate the Time zone under which you can find various Time zones. 4. Choose your desired one and click submit. 5. Like always, Sync your device. |
Change Time Format
Like all other versions discussed above, even here, the procedure stands the same.
- Go to the Fitbit website from any web browser. And log in to your account.
- Click the Settings icon and select settings, then choose personal info.
- Under Clock Display Time, choose the time format one among the 12-hour or 24-hour formats.
- Then sync your device.
6. In other Versions
All we discussed above are the versions used majorly. Here we are still left with a few other versions. That includes Surge, Ionic, Justice, Blaze, Garmin, Fitbit Flex, and Fitbit Ace. As discussed earlier, the steps and procedure still hold the same for all these versions too. Changing timezone in your mobile app or using any software or web browser, you can still change the Time and date on your Fitbit device.
With the help of Mobile Application Android and iOS
In both Android and iOS, the steps remain the same.
- Download and Install the mobile application on your Smartphone.
- Open the application and log in to your account.
- Then Sync your Fitbit device with your phone.
- Tap the Fitbit icon that looks like a cluster of dots, then tap your profile picture to get the Settings options.
- Then go to Advanced settings.
- In Andriod
- Turn the Automatic Time Zone off.
- Select Time zone and choose your Time zone.
- Now again, sync your device.
- In iOS
- Under Time zone, turn off Set Automatically.
- Tap Time zone and specify yours.
- Sync your Fitbit device.
In Windows and 10 OS devices
- Open the Fitbit dashboard and click the Account icon.
- Now there, choose Advanced Settings.
- Tap the time zone and toggle the Auto switch to disable it.
- Select your region-based Time zone.
- Sync your Fitbit device.
With Website
- Open the Fitbit website. And log in to your account.
- Click the Settings icon as we all know it, the gear one.
- Then go to Advanced Settings.
- Locate the Time zone and select the one you are in.
- Click Submit and sync it with your device.
Change Time format
Unfortunately, as said earlier, like other devices, even here, you cannot use your app to change the time format. But then, luckily you can do it with the help of the Website.
- Login to Fitbit Website. Click the Settings icon >> Settings >> Personal Info.
- Under Advanced settings, choose Clock Display Time and choose either 12-hour or 24-hour format.
- Now submit and, as usual, sync your device.
Thereby, your Time format will change automatically.
Note
- Remember, the Time zones prone to 30 minutes change are not supported.
- Accordingly, almost all the above versions have the same method.
- The time and date settings will go hand in hand.
- In the above sentences, we used 24-Hours time, which is also known as Military time.
- Changing the time zone will automatically adjust the daylight settings.
