
Nintendo Switch is a powerful gaming console to play your favorite games. It is designed to fit all your gaming needs. Nevertheless, Switch is fully featured for home as well as for on-the-go gaming. It supports classics to online multi-player, local co-op, and lots more video games. With Joy-Con, users will feel the flexibility of playing games. For all these features and more of Switch, one must set up the console upon unboxing it. If you don’t know how to set up your Nintendo Switch, don’t worry, it is a lot simpler than you think. We have come up with this dedicated guide for the same. So follow these simple steps carefully
How to Set Up Nintendo Switch?
In order to access the Nintendo Switch features, the primary task is to set it up. Here are the detailed guidelines you should carry out.
Preliminary Requirements
Before proceeding any further, work on the following things on your Switch.
- Plug the AC adapter into the USB connector on the console’s bottom.
- Then connect the adapter to the power outlet.
- Wait for the system to power on soon after connecting the AC adapter.
Also see how to Connect Nintendo Switch to TV [Step By Step]
Nintendo Switch Setup Guidelines
This section is further classified into setting up Switch for the first time and then set up with an account.
Set Up Nintendo Switch
1. To turn on Nintendo Switch, press the power button available on the top of the screen in the left corner.
2. Connect the Joy-Con controllers on either side of the Nintendo Switch gaming console.
3. You will need to proceed with a series of setups prompts by following the on-screen instructions.
4. Choose the language of your choice in which you want to use Switch. Press A button on the right-side controller to select it.

5. Select the location you are residing and press A button on the controller.

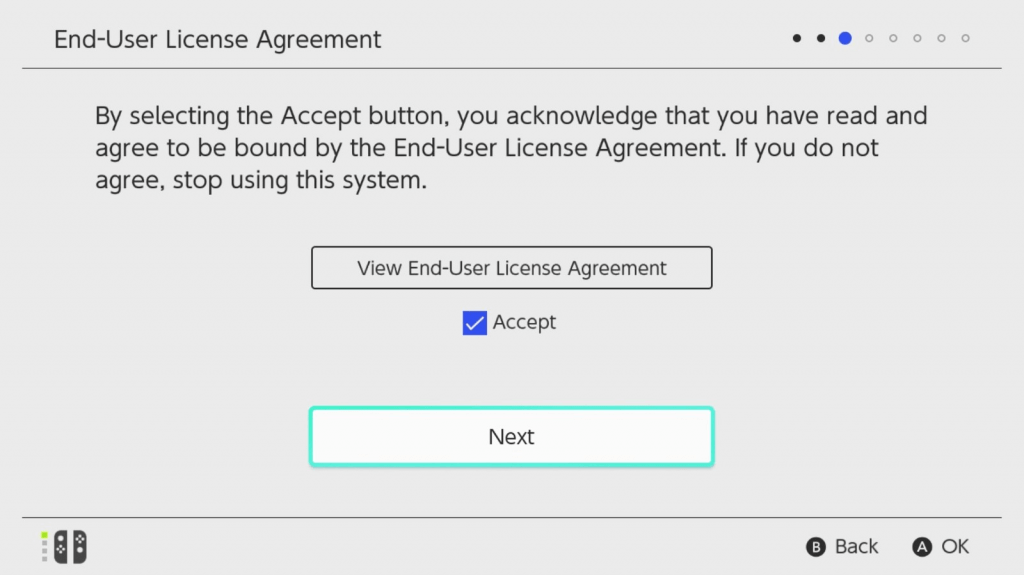
6. For the End User License Agreement, select Accept to acknowledge it.
7. Switch will search for the nearby Wireless network. Select the network to connect with it and thereby enter its associated password.

- Press OK or + button on right Joy-Con. Further, select OK if the console gets connected to the internet or WiFi.

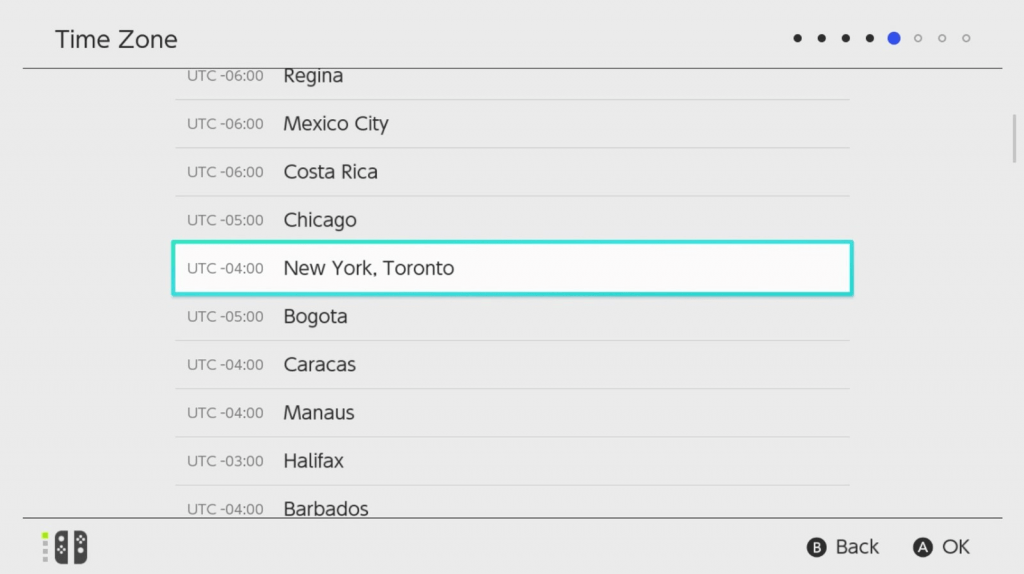
8. With this, you shall need to select the Time Zone based on the location you are living.
9. Now, choose Connect to TV option and detach the Joy-Con from the Switch by holding the release button on the back.

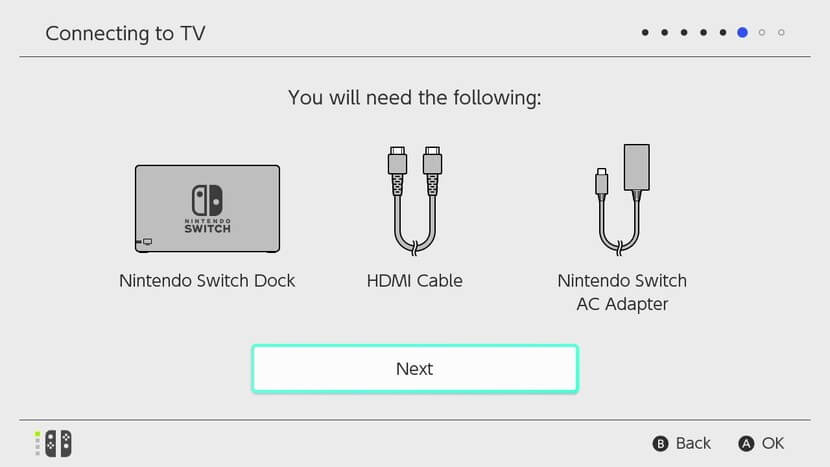
10. If Switch screen shows “You will need the following”, then press Next button.
11. Refer the screen instructions to connect the Switch Dock to the TV and the power source. Press Next.

12. Using the HDMI cable, connect the dock station to the TV and dock to the power source using an AC adapter. Press Next.

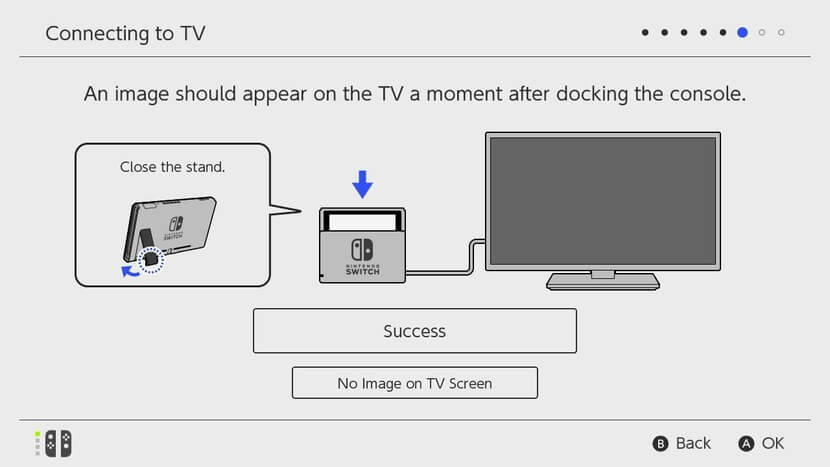
13. Wait for an image to appear on your TV after docking the Switch. Now, select Success.
Setup Account
1. On the New User window, select Next button to proceed with creating a new user.

2. Select an icon to represent your user profile. If needed, click More options to find more icons.
3. Choose a Background color when prompted.
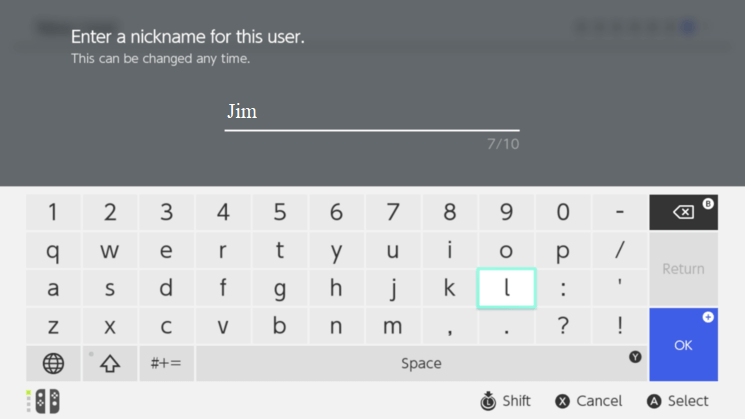
4. Provide a nick name for the user using on-screen keys and press OK button.
- To set up more users, select Add Another User.
4. Optionally, choose Configure Parental Controls to enable it. Otherwise, select Skip option.
- Use Settings section to setup parental control using smart device or console.

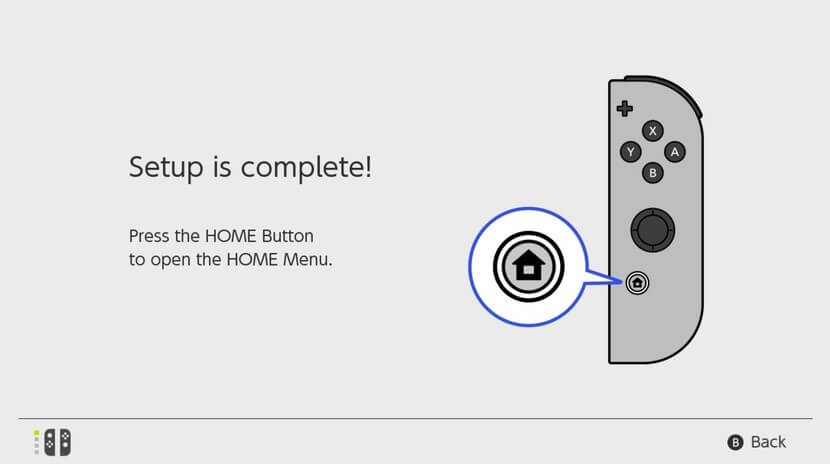
5. When the setup process gets completed, press the Home button on the right Joy-Con to get the home screen of Nintendo Switch.
6. Finally, sign in and link Nintendo Network ID or select Later.
That’s was all the necessary instructions you need to carry out to successfully setup Nintendo Switch. The same set up method goes with all the variants like the original and the lite version. If you get stuck in between simply reset your Nintendo Switch. Use the comment box to ask us your queries or drop any suggestions.