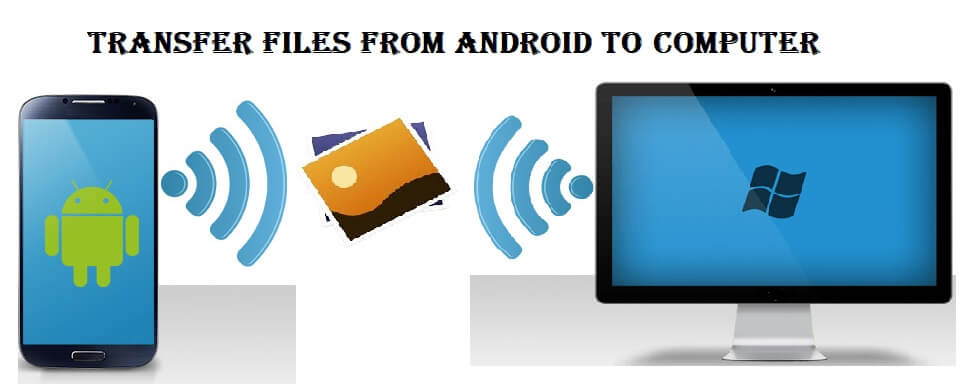
On many occasions, our mobile will run out of storage, or we may change our device. In those situations, we would like to transfer our photos from our Android device to the computer. If you want to transfer pictures from Android to PC, but you don’t know how to do it? Then this is the article for you. There are two ways to do it. You can transfer it by using the USB cable provided with your device or by using cloud storage services like Google Photos.
Transfer Photos from Android to Computer Wirelessly
One of the best ways to transfer images from Android phone to PC wirelessly is by using Google Photos. Other popular options include iDrive, Dropbox, Amazon Drive, and many more.
Step 1: On your Android device, launch the Google Photos app and ensure that you’re logged in.
FYI! Google Photos is a pre-installed app on all Android devices.

Step 2: Apart from the built-in gallery app, all the pictures that you have taken and stored on the device will appear on the app. You just need to back them up to your cloud.
Step 3: Tap your profile icon on the top right corner >> choose Photo Settings >> click Back up and Sync.
Step 4: Enable the backup option by sliding the toggle located next to it.
After backing up the pictures, you can view them easily on your computer by visiting Google Photos web version: photos.google.com. From there, you can download the photos that you want.
FYI! By default, Google offers free cloud storage of 15GB to save your images, videos, documents, contacts, and more. For more storage, you need to pay money on a monthly basis.
Related Guide: Three different ways to How to Enable Dark Mode on Android phone.
Transfer Photos from Android to Computer via USB Cable
USB cable is the most traditional way to transfer photos from your Android phone to a Computer effortlessly.

- Unlock your Android phone.
- Connect your phone to the computer with the help of a USB cable.
- On your Android device, pull down the notification screen and select the notification which says, “Charging via USB.”
- Choose the Transfer files option.
- Open file manager on your PC and navigate to your phone storage.
- Select the photos that you want to transfer from mobile to PC.
- Copy and paste it on your computer at any location.
The steps will vary if you’re using a computer running on macOS.
- Install Android File Transfer on your Mac.
- Connect your phone to the Mac via USB cable and launch the file transfer app that you installed.
- On your phone, change the “Charging via USB” settings to “Transfer files.”
- A file transfer window will open on the screen.
- Copy and paste the pictures that you want or drag and drop them on your Mac.
Transfer Photos from Android to Computer Using USB Drive
Apart from the above-mentioned methods, you can also use the USB drive to transfer pictures from Android to your computer. However, this method is only applicable to Android devices with built-in OTG support.

Related Guide: Best Android password managers to store and manage all your login credentials.
- Connect the USB drive to your Android device via OTG cable.
- On your device, go to Settings and turn on the OTG support.
- After enabling the setting, open the file manager and navigate to your phone storage.
- Copy the photos that you want and open the USB Drive.
- Paste the pictures and wait for the process to complete.
- Once completed, unplug the pen drive and connect it to your computer.
- Now, you can transfer the files effortlessly from your USB drive to your PC.
I guess we have covered all the possible ways to transfer the photos from Android to the computer. Still, having issues while transferring pictures? Write to us in the comment section below.
