
Nvidia Shield is a great gaming and streaming device. Using a VPN on any device keeps the data safe and secure when your device is connected to the internet. In the same way, a VPN will help you bypass its geo-restrictions and encrypts your internet traffic. And a VPN provides multi-layered security and privacy while being online. Like any device, you can install and use a VPN on Nvidia Shield if you are concerned about protecting your privacy online. The process is relatively easy and now let us look at the methods to install and set up a VPN on Nvidia Shield.
How to Install & Set Up a VPN on Nvidia Shield
Nvidia Shield TV is based on Android OS, and you can install it using different methods.
- From Play Store
- Sideloading method
- Using OpenVPN
Install a VPN on Nvidia Shield from Google Play Store
Installing an official version of a VPN from Play Store is the most recommended and trustworthy method. Also, it is the easiest method of all.
1) First, run your Nvidia Shield and go to Google Play Store.
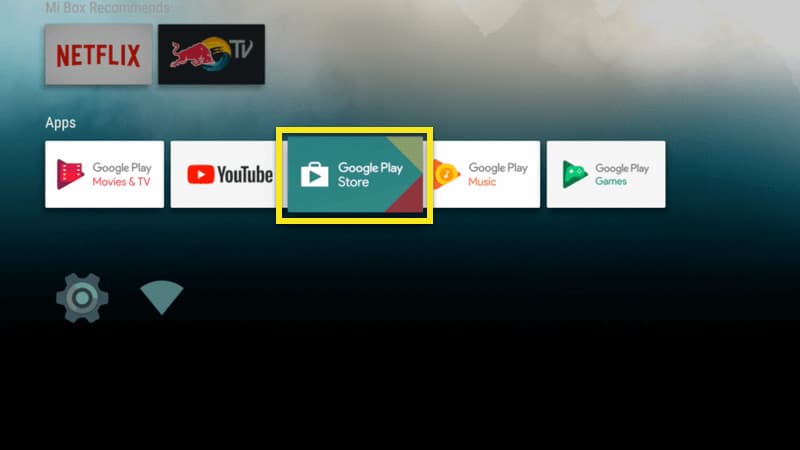
2) Search for your favorite VPN and select it from the results shown.
3) Next, click Install and select Accept on the Terms and Conditions notification.
4) Once it is installed, select Open to launch the app.
5) Finally, Sign in with your VPN account credentials. If you are using a VPN for the first time, sign up for an account from the VPN’s official website.
6) After signing in, select a server location and follow the screen instructions to establish the connection.
7) Once the VPN is established, it will run on the background.
8) Now, you can access anything online from your Nvidia Shield without any restrictions.
Related: How to Disable Nvidia Overlay Settings [3 Methods]
Install a VPN on Nvidia Shield Via Sideloading
1) Open any browser on PC and download your favorite VPN APK file from any trusted source.
2) Next, you should Copy the APK file to a USB drive.
3) On your Nvidia Shield, go to Settings.
4) Under that, select the Security & Restrictions option and Turn on Unknown Sources.

5) Then click on OK to confirm your action.
6) Next, search for the Downloader on your Nvidia Shield from the Play Store.

7) Install the Downloader app and launch the app.

Related: How to Update Nvidia Shield TV [Firmware and Apps]
8) Now insert the USB drive on Nvidia Shield in which you copied the APK file.
9) Next, use the Downloader app to open the USB drive and select the APK file.
10) Click on Install on the terms and condition page.
11) Once installed, click on Open to launch the VPN on Nvidia Shield.
12) Finally, log in with your VPN account, select your server location and click on connect.
Install a VPN on Nvidia Shield Manually using OpenVPN
1) Launch the Google Play Store from your Nvidia Shield.
2) Search and install OpenVPN.

3) Then, visit the VPN service provider website and download the OpenVPN configuration file (.crt extension) for your desired server location.
5) Next, open the file using Downloader and import it to OpenVPN.

4) Now, copy the extension on a USB drive and connect that on your Nvidia Shield.
6) Then, click on the Pencil shaped icon under Profiles.

7) And click on the select button to the right of the extension file downloaded.
8) Now, enter your OpenVPN username and password.

9) Finally, open the server list tab in the OpenVPN and select the server that you want.
Wrapping Up
Using a VPN on Nvidia Shield is necessary for problem-free internet access. Among the three methods, we suggest you install a VPN using Google Play Store. If you are using the other two methods, follow the steps correctly. Post your questions in the comment section below.