
Toshiba is one of the largest electronic manufacturers in the world. The company offers a wide range of electronic devices, and Toshiba Laptops are one of the products. While it is not as popular as HP, Dell, etc., it is still a viable laptop option. The interface of Toshiba laptops is the same as that of any other laptops in the market. So, taking screenshots is more or less similar to its rivals. If you want to know how to screenshot on a Toshiba laptop, continue reading the article to find possible ways.
How to Take Screenshot on Toshiba Laptop?
Screenshot means capturing anything available on the screen. There are 3 ways to take a screenshot on your Toshiba laptops, and they are
- With Keyboard combinations
- Utilizing Windows tool
- Using the Screenshot Tool/Software
Take Screenshot on Toshiba using Keyboard Combinations
Keyboard combination is the simple and common method of taking screenshots on any Windows installed device laptop. It includes the Toshiba laptop.
[1] Press and hold the Windows key on your Toshiba keyboard.
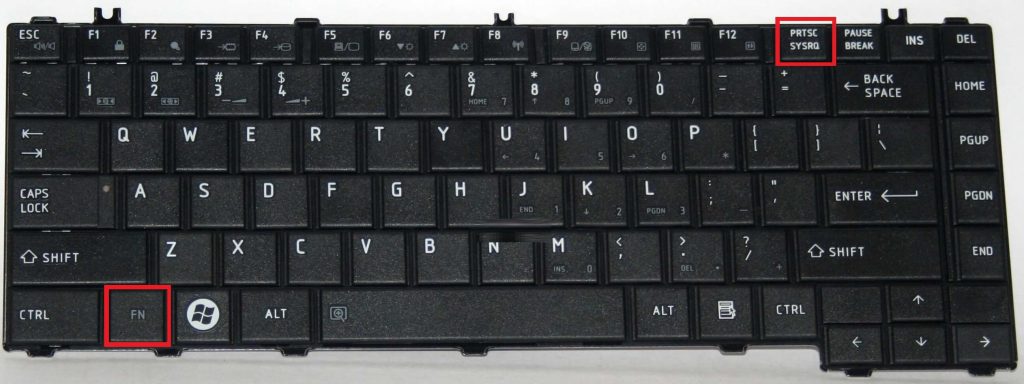
[2] Followed by the Windows key, press the Function key (Fn) + End/Print screen key or PRTSC/SYSRQ on your keyboard.

(or)
[2] Followed by the Windows key, press the Function key (Fn) + PRTSC/SYSRQ on your keyboard.
(or)
[2] Followed by the Windows key, press the Print screen, shortly mentioned as Prt Scr or Prt Sc (If you are using an external keyboard).

Note: When you press both the key simultaneously, you see a shutter effect on your screen which means the screenshot has been captured.
[3] Now your screen has been captured and saved in your Toshiba Laptop.
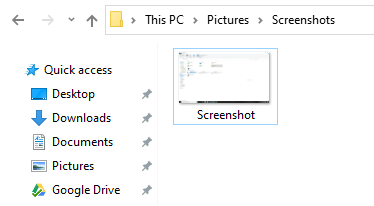
[4] To view the captured screenshot, go to C:\Users\username\Pictures\Screenshots (you can also paste this address in your File explorer address bar) to view the screenshot.
Related: How to Reset Toshiba Laptop Password
Capture Screen on Toshiba using Windows Tool
There is a tool available on your Windows by default that allows you to capture the screen and edit them. It can be done in two ways as follows.
Paint
[1] Press the Print Screen key (Prt Scr or Prt Sc) on your keyboard to copy the screen to your Clipboard
Note: If your print screen key comes with End/SysReq combined, press the Function (Fn) key along with it.
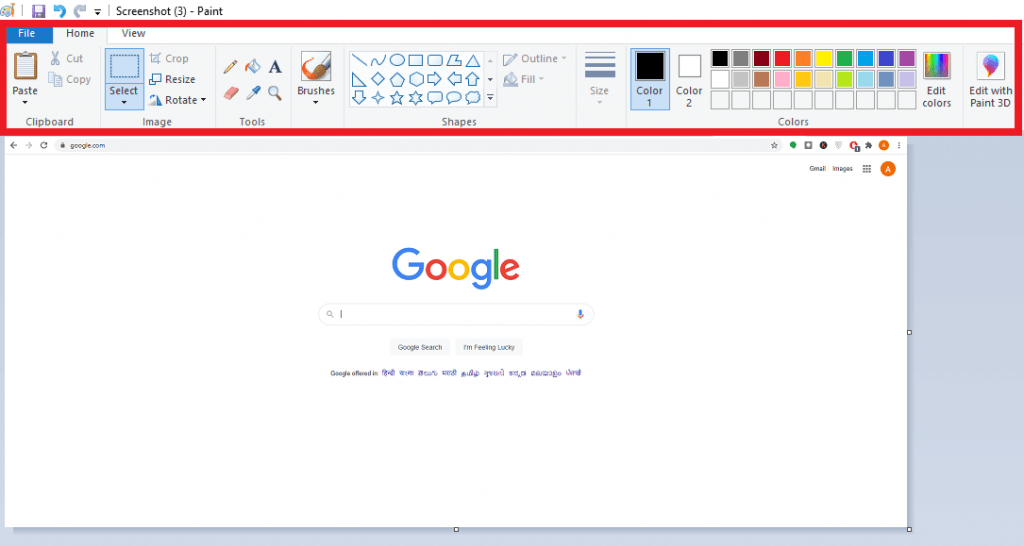
[2] Open Paint from the Start menu.
[3] Press Ctrl + V to paste the captured screen from the Clipboard.

Note: Pressing the Print Screen key will capture the whole screen.
[4] Make any edits, like marking, crop, resizing, etc., using the Paint tool.
[5] Press Ctrl + S on your keyboard to save the image in the destined location. It applies to some formats, like Monochrome bitmap, 16 & 256 color bitmap, 24-bit bitmap, JPEG, GIF, TIFF, PNG, and HEIC.

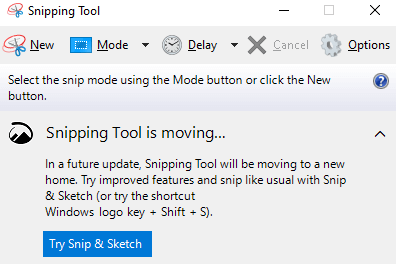
Using Snipping Tool
[1] Go anywhere you want to Screenshot/capture the screen on the Toshiba laptop.
[2] Open the Snipping Tool from the Start menu and click on New.
(or)
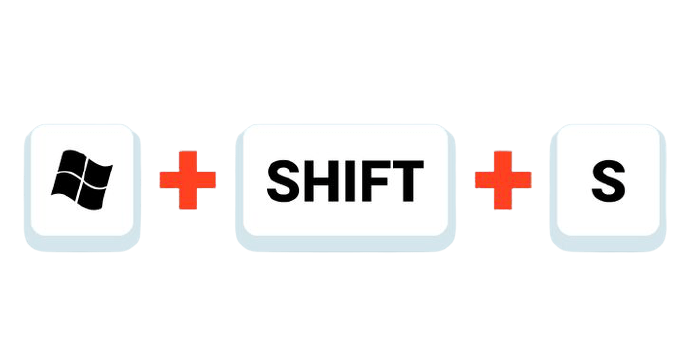
[2] Press the Windows key + Shift + S on your keyboard
[3] Select the part of the screen or even the whole screen with the Snip tool.
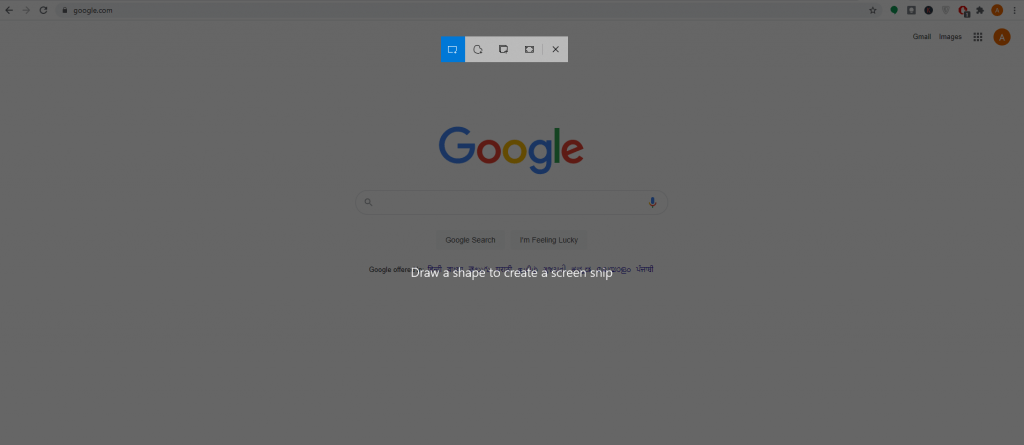
[4] Make minor edits like drawing, highlighting, etc.

[5] Clicking on the Save icon will save the image in the destined location as PNG, JPEG, GIF, or Single File HTML formats.

Tip: Own a Chromebook? Check out the steps to Take Screenshot on Chromebook
Take Screenshot on Toshiba using Screenshot Tool/Software
Apart from the methods mentioned above, several other third-party tools/software are available to capture the screen. It works on the Toshiba laptop models, and thus you can do some great edits and stuff.
[1] Download and install any of the Screenshot tools/software.
[2] Purchase or login to the software if required.
[3] Set up the Hotkey to launch over any application.
[4] Use the Hotkey to take the screenshot and do your edit.
[5] That is how you can make use of software to take a screenshot on Toshiba.
Some of the popular Screenshot tools are
Conclusion
These are some of the ways to take screenshots on a Toshiba laptop. You can use any of the methods mentioned above that fit you. We hope this section has helped out with the screen capture on your Toshiba device. If you have any doubts, shoot in the comments section.