
Generally, people who own MacBook Air tend to also have iPhones. If you are one among them, then you must have often wondered how to transfer photos from your iPhone to your MacBook Air. There are various reasons the users intend to transfer photos from iPhone to Mac. The primary reason to transfer photos is to free up iPhone space, backup photos, and more. Whatever might be the reason, refer to the methods in this guide and transfer photos from your iPhone to your MacBook Air at ease.
How to Transfer Photos From iPhone to MacBook Air Wirelessly
You can either utilize iCloud or the AirDrop feature of Apple to move photos from iPhone to MacBook Air. Remember to sign into the same Apple account on both iPhone and MacBook Air.
Move Photos from iPhone to MacBook Air using iCloud:
You can sync your photos to iCloud and then access them on your MacBook Air or any other Apple device.
To check whether you have enabled iCloud storage for photos on your iPhone, follow the steps given below.
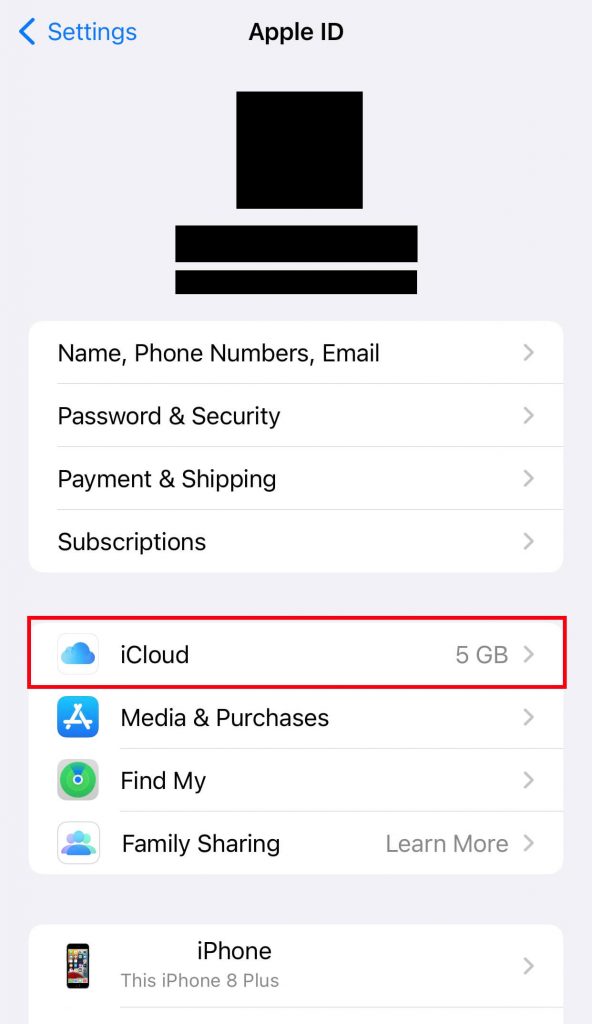
1. Go to Settings and tap on your Apple account at the top.

2. Click on iCloud.
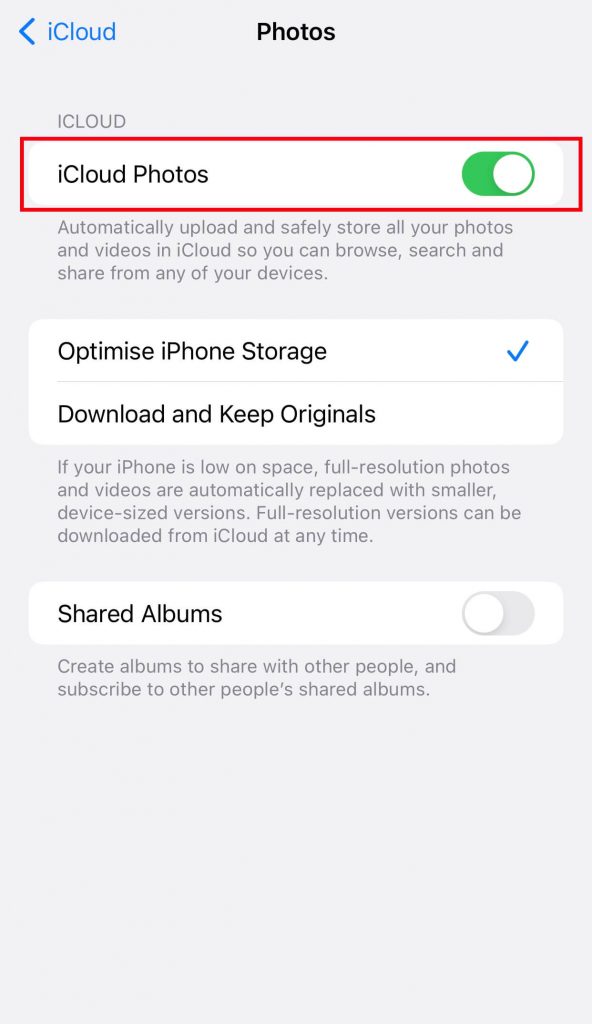
3. Tap on Photos.

4. Enable iCloud Photos.
NOTE: Ensure that the total size of the photos should be compatible with your iCloud storage plan. If not, clear iCloud storage to delete the unwanted files or upgrade the storage plan.
After following the above steps, you should also check whether iCloud for Photos is enabled on your MacBook Air.
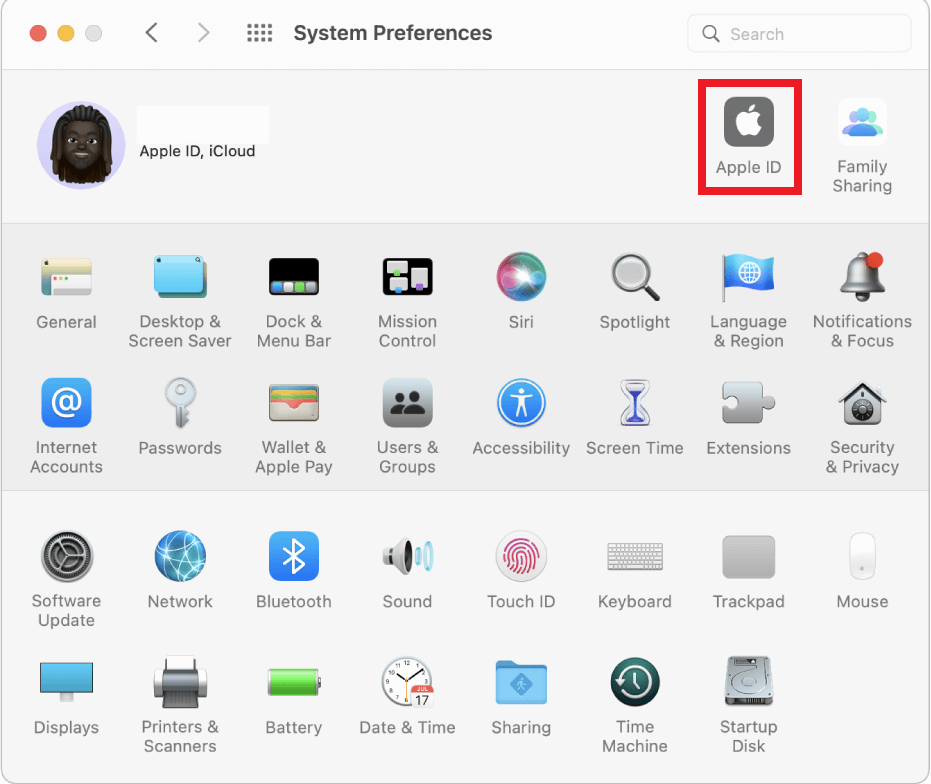
5. Press the Apple logo on the top left corner of your Mac and select System Preferences.

6. Click on Apple ID.
7. Select iCloud from the left sidebar. Tick the check box placed left to the Photos.
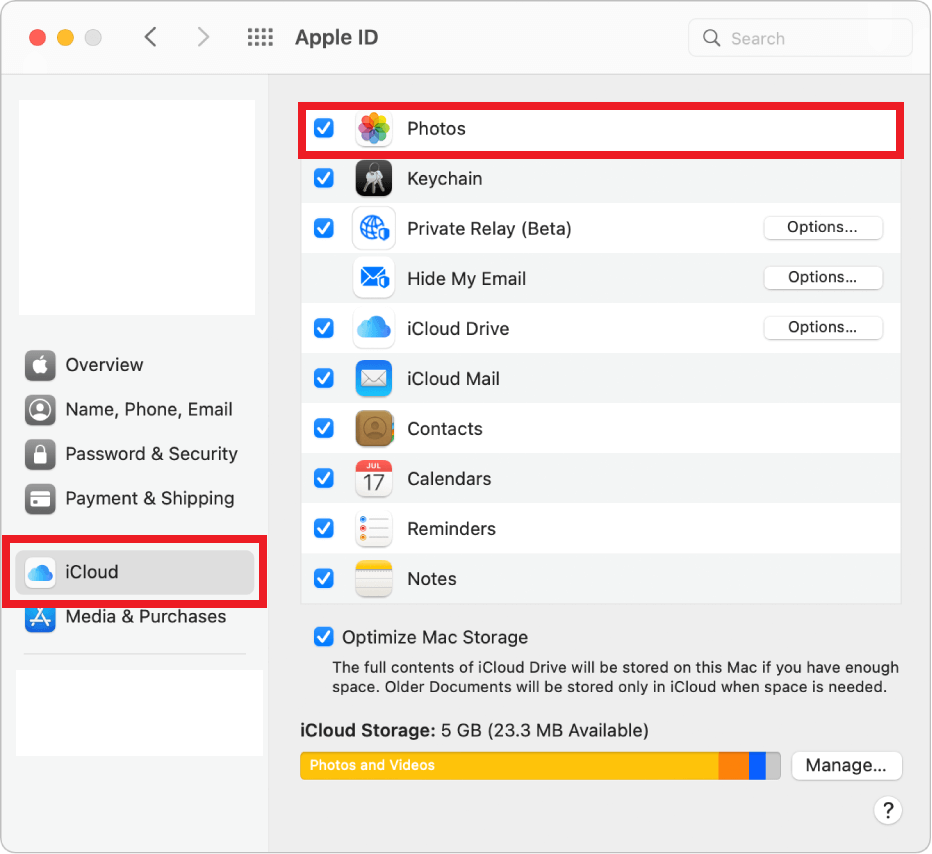
Synchronization of the photos on your iPhone and MacBook to iCloud is successful. Open the Photos app on your MacBook Air to access all the photos on your iPhone.
Transfer Photos from iPhone to MacBook Air using AirDrop:
If you want to transfer a small number of photos from your iPhone to your MacBook Air, then you can prefer AirDrop instead of iCloud. This method is possible only when your devices are nearby. Also, turn on Wi-Fi and Bluetooth on your iPhone to ensure the proper working of AirDrop.
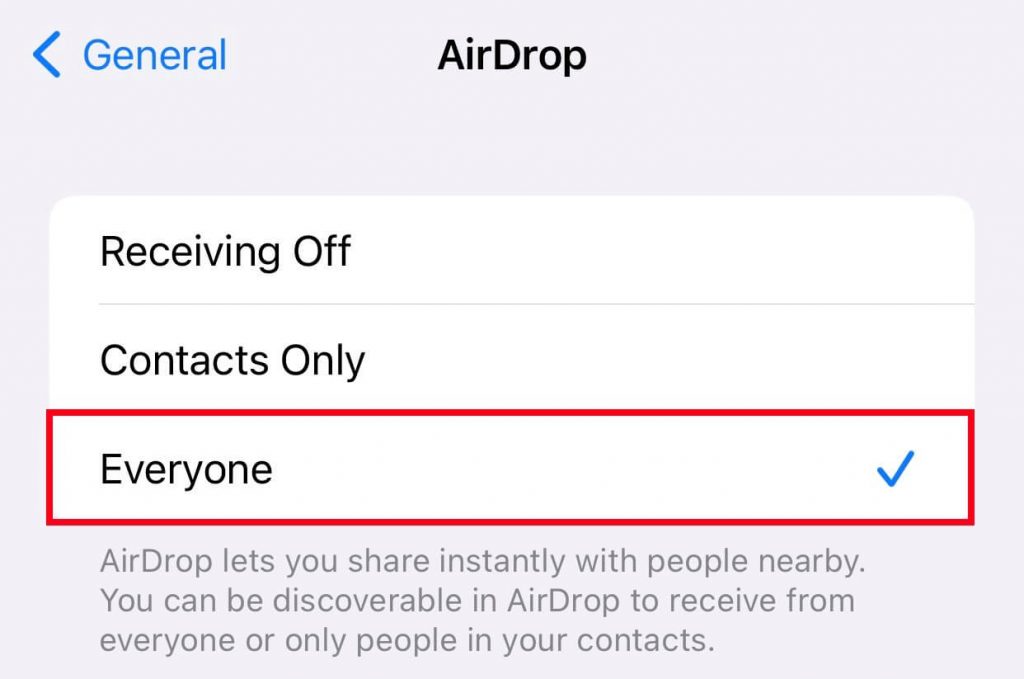
1. On your iPhone, go to Settings >> General and then select AirDrop. Select Everyone.
2. On your MacBook Air, click on the Control Centre icon present before the Date and Time on the top right corner. Select AirDrop and set it to Everyone.
NOTE: You can also change the AirDrop name on Mac and iPhone.

3. Now, open the Photos app on your iPhone.
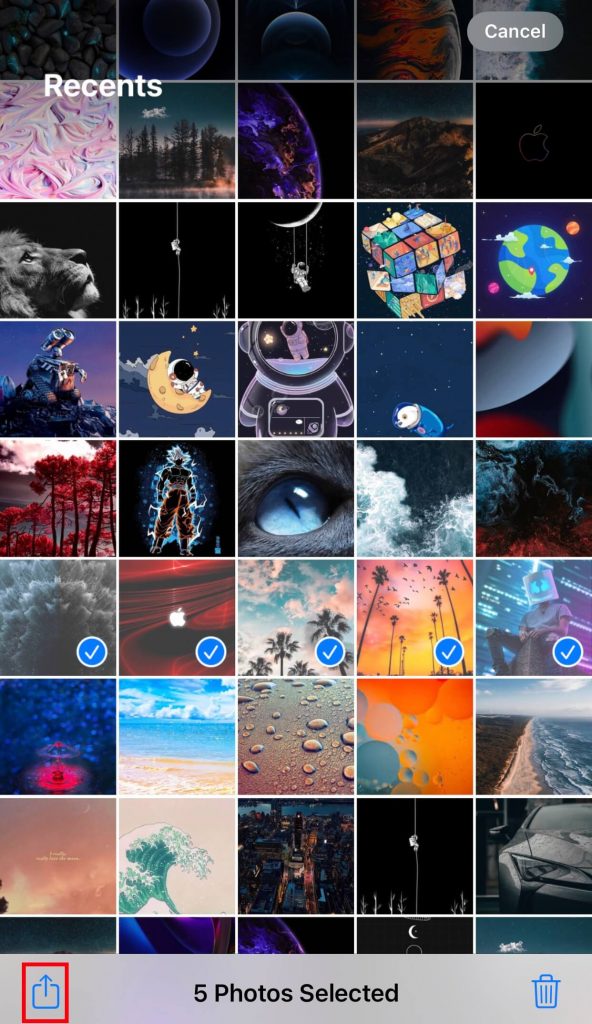
4. Select the photos that you want to transfer and click on the Share icon.
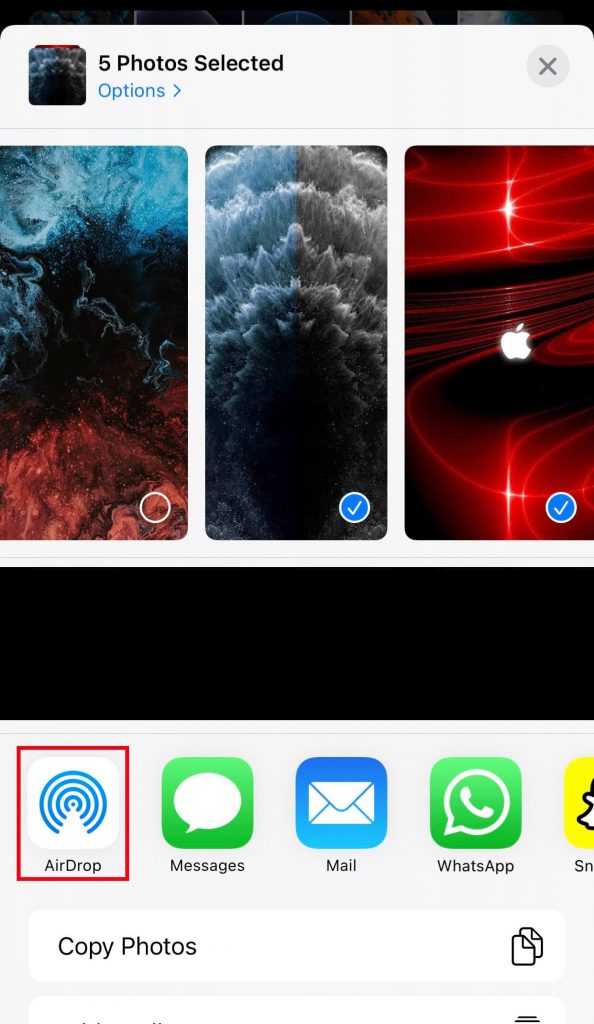
5. Tap on AirDrop.
6. Choose your MacBook Air from the list of the devices available.
7. After the successful transfer of the photos, a message will appear to notify the transfer completion.
How to Transfer Photos From iPhone to MacBook Air Using a USB Cable
You can also transfer the photos to your MacBook Air using a USB cable.
Move Photos from iPhone to MacBook Air using Photos
You can make use of your charger cable to import photos from your iPhone to your MacBook Air.
1. Connect your iPhone and MacBook using a USB cable.
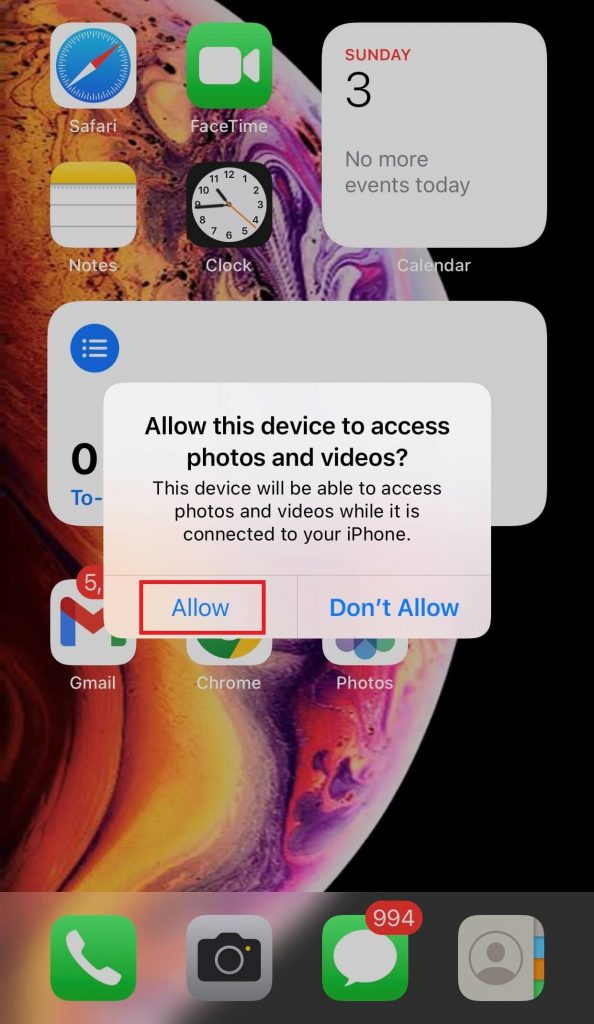
2. Unlock your iPhone and if it is your first time connecting these devices, then click Allow on the prompt displayed on your iPhone to give access to MacBook.
3. After providing access, the Photos app on your MacBook will open and displays the photos available on your iPhone. If the Photos app didn’t open automatically, then manually go to the Photos app on your MacBook and select your iPhone name available on the left sidebar.
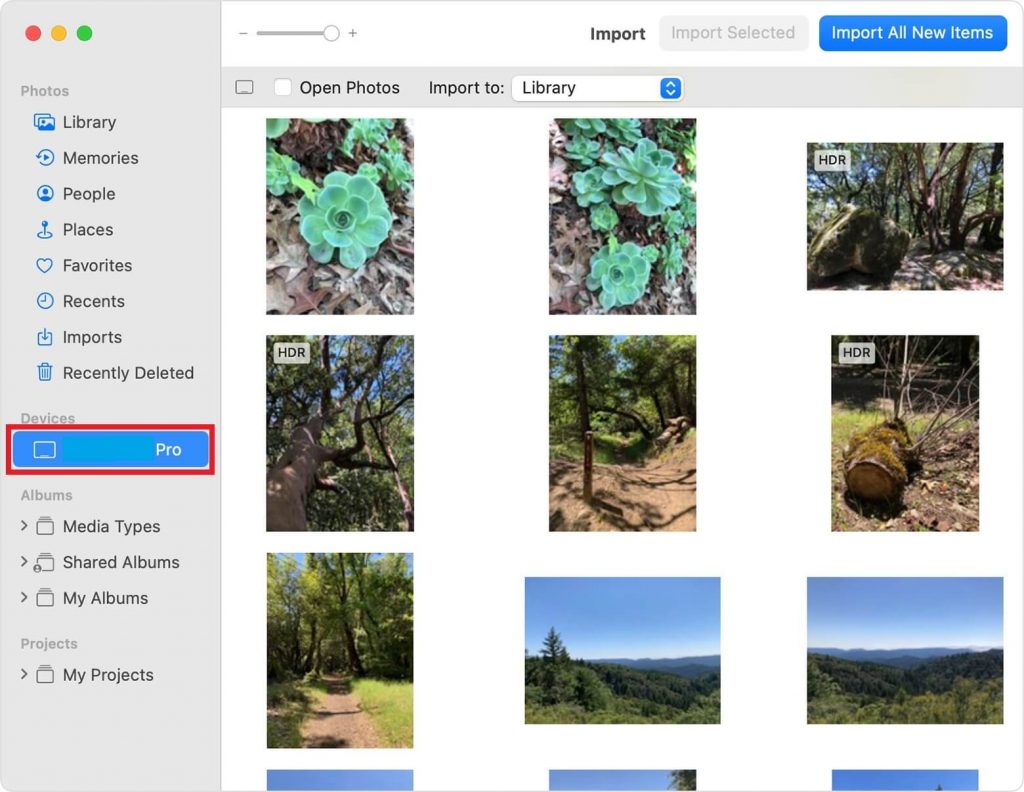
4. From the displayed pictures, select the pictures you want to transfer.
5. Click Import Selected.
NOTE: If you wish to transfer all the photos, select Import All New Items.
Transfer Pictures from iPhone to MacBook Air using Image Capture:
Image Capture comes in-built with your macOS. You can use it to import the photos from your iPhone to your MacBook Air.
1. Using a USB cable, connect both your devices.
2. Launch Image Capture on your MacBook.
3. Tap on your iPhone name displayed under Devices. Then, select the drop-down placed near the option Import To: at the bottom and choose any location to save the imported photos.
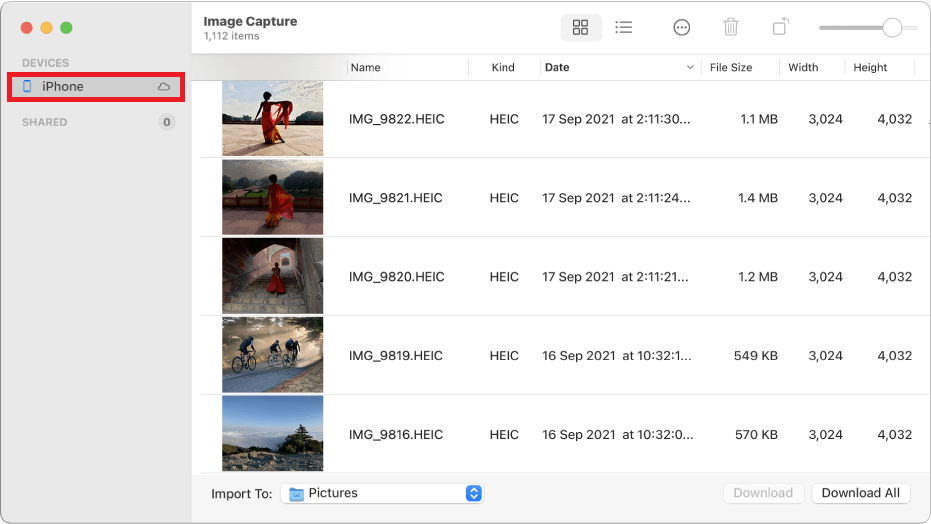
4. To transfer selective photos, select them and click Download. If you want to import all the photos, click Download All.
Import Photos from iPhone to MacBook Air using Finder:
To use Finder to transfer photos, your MacBook Air software must be macOS Catalina or later, and your iPhone must be updated to the latest available software version.
1. Establish a connection between your iPhone and MacBook using a USB cable.
2. Click on the Finder icon on the dock and select File >> New Finder Window.
3. Click on your device name available on the left sidebar. Then, select the Photos tab.
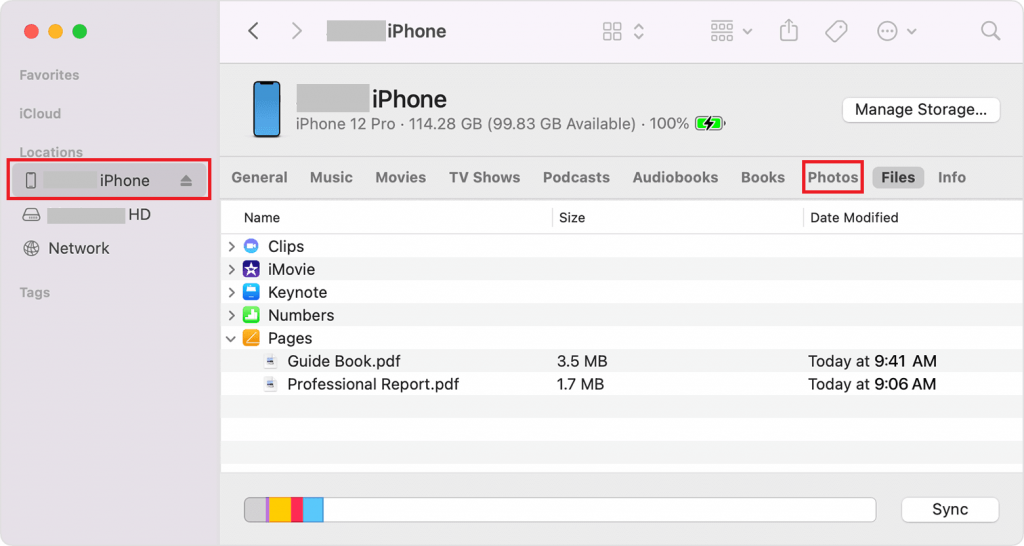
4. Tick the box left to the option Sync photos to your device from: and select the app or folder from which you want to sync the photos. For instance, we have selected the Photos app.
5. You can either sync All photos and albums or Selected albums by choosing the respective option available next to Sync.
6. Finally, click Apply to transfer the photos from your iPhone to your MacBook Air.

Further, you can also use third-party apps like AnyTrans, EaseUS MobiMover, etc., to transfer photos from iPhone to Mac. In addition, you can also use cloud storage solutions like DropBox, Google Drive, and Microsoft OneDrive to transfer iPhone photos to Mac.
FAQs
Yes. There are different methods to transfer photos from iPhone to MacBook Air. To know about the methods, refer to the blog.
Yes. You can cancel your iCloud storage plan using iPhone or Mac.
By using iCloud or AirDrop, you can transfer the photos to MacBook wirelessly.
Using a USB lightning cable is the easiest way to transfer photos from iPhone to Mac.